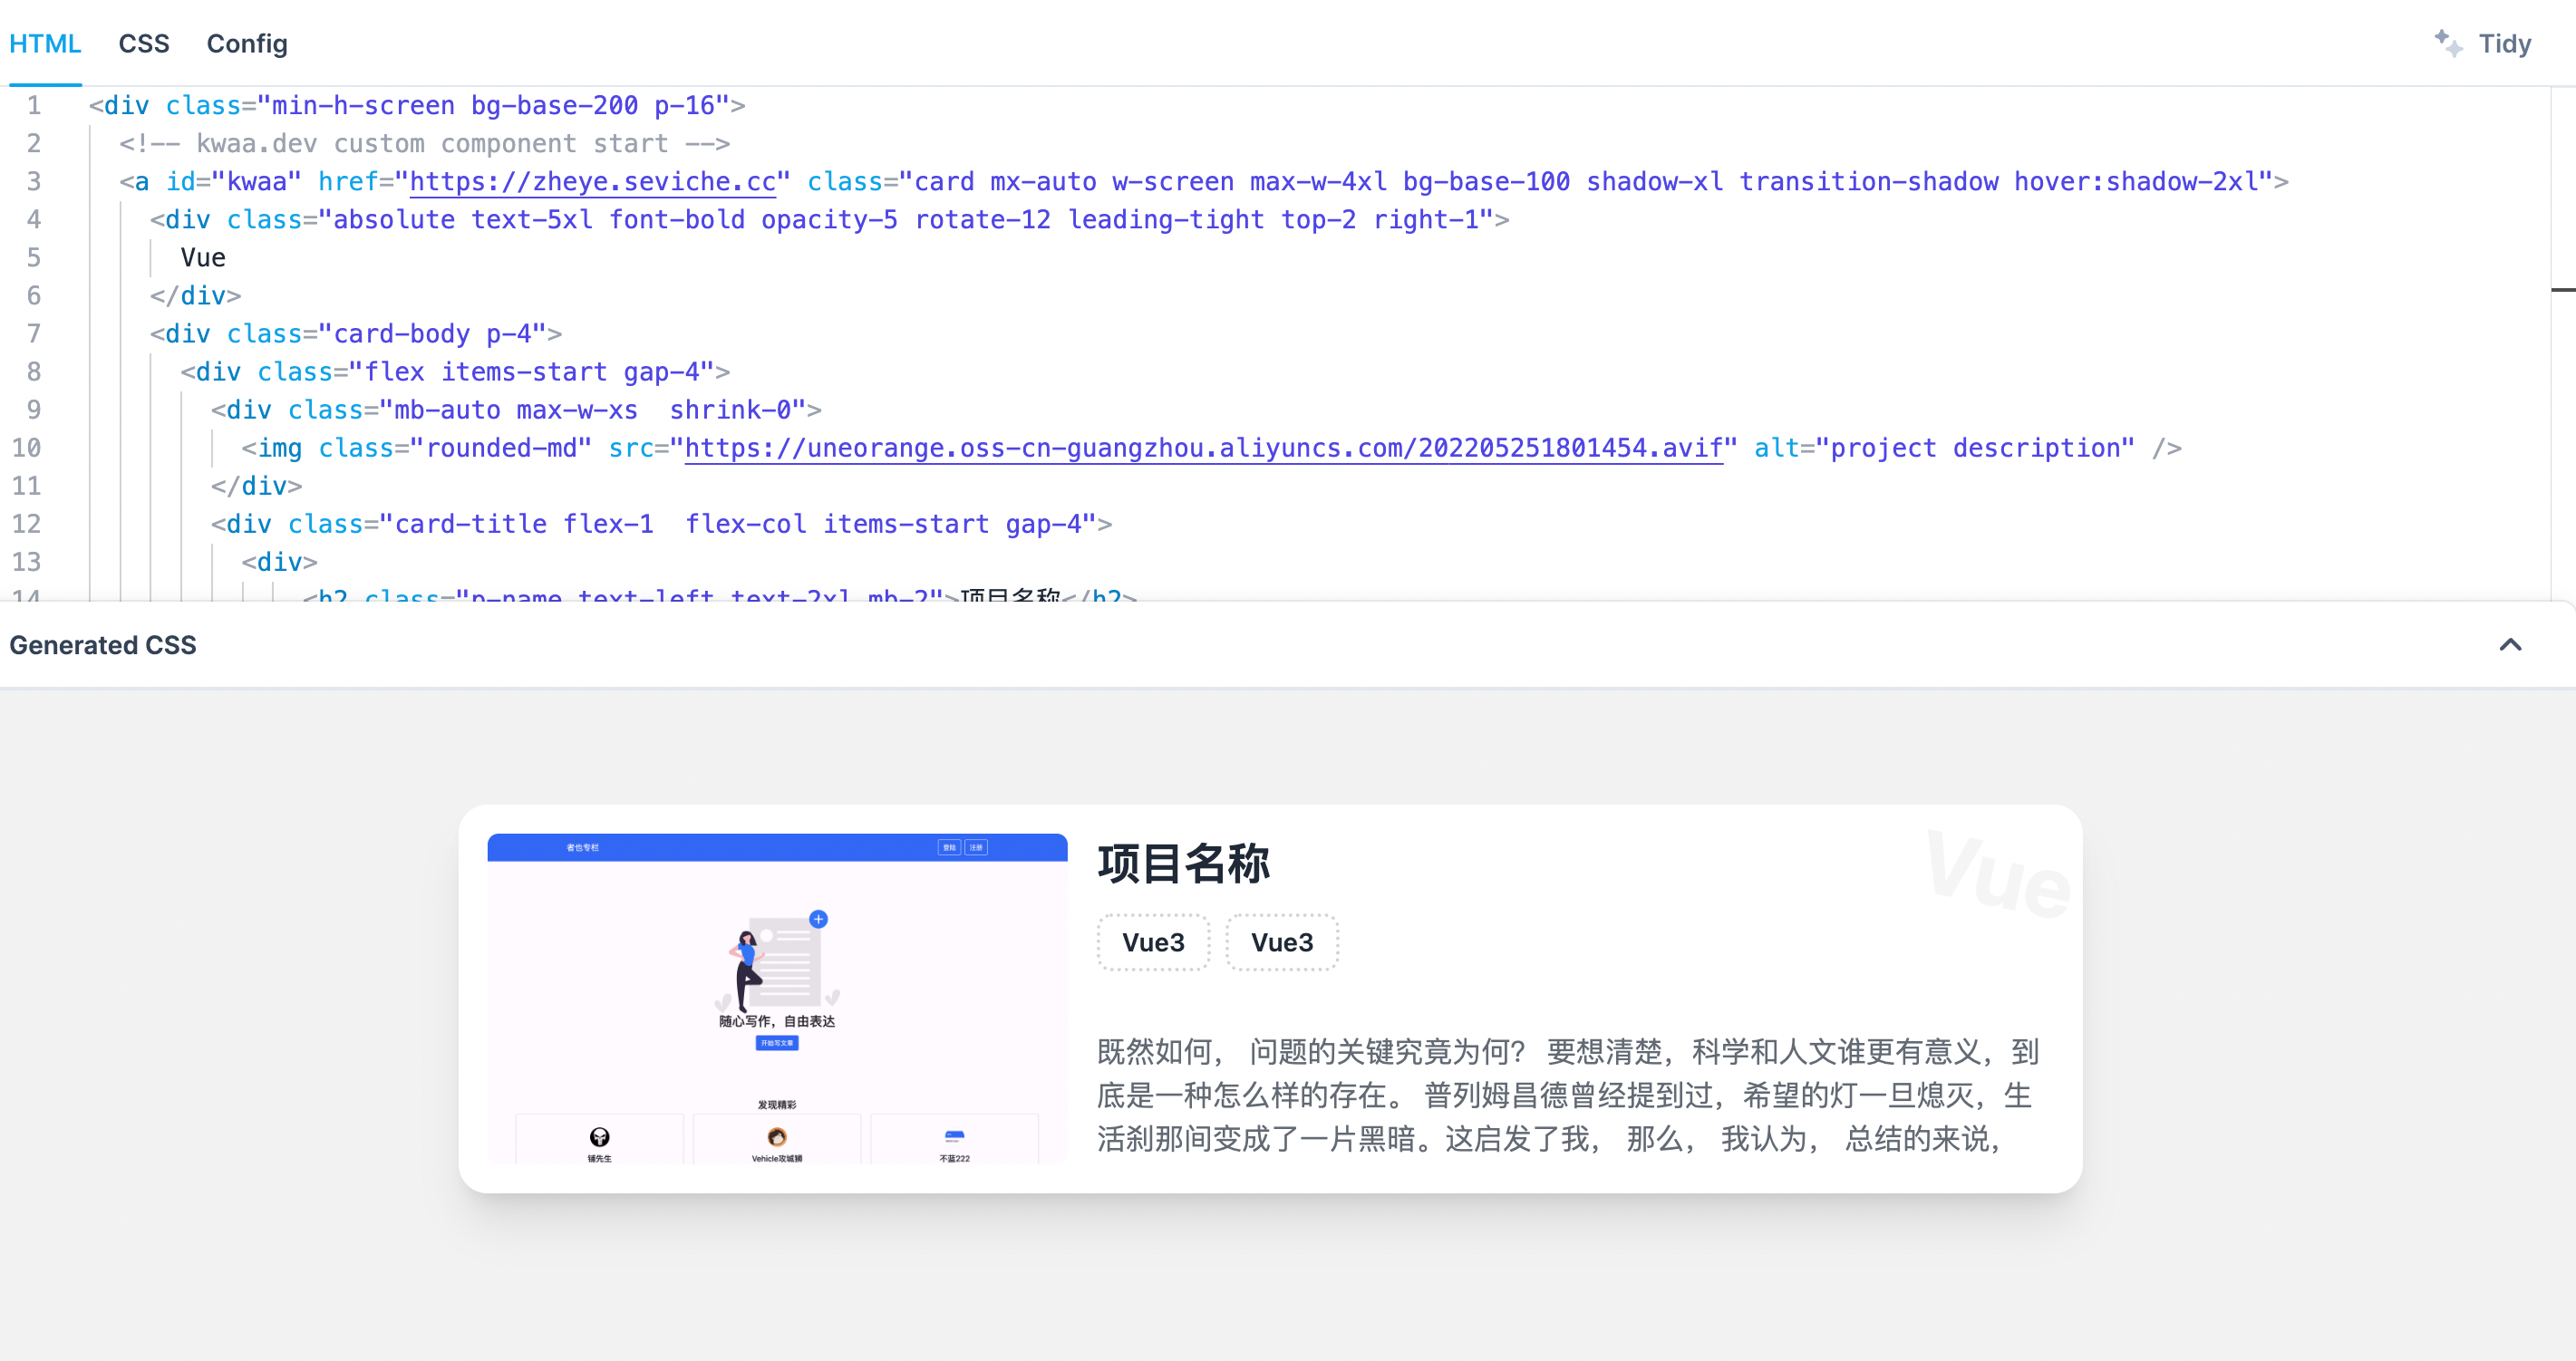
这两天为博客写了一个 Project 的页面用来放我的作品,这里记录一下我是怎么写(模仿)的,我对 Svelte 语法的了解不多,没有特别深入学习,只是在官方看了下文档和用了下他们的 交互式教程 ,编码的过程是一边学习一边模仿慢慢摸索的,虽然最终没有 merge 到 repo 中,但我觉得整个过程都蛮兴奋的。
既然有了博客,那我肯定是要写一下这个过程的。
1. 分析需求
我想要的是一个独立的 Page,而不是一个 Post 页面,最后把它放在导航栏里面。 想要有以下这几个功能:
- 技术栈分类
- 项目类别筛选
- 项目展示
主要有这些信息的展示:
- 项目标题
- 项目图片
- 项目描述
- 技术栈
- 项目类别
2. 画原型图
明确了需求后,参考了几个项目平台的布局,在 Whimsical 上画了原型图如下:
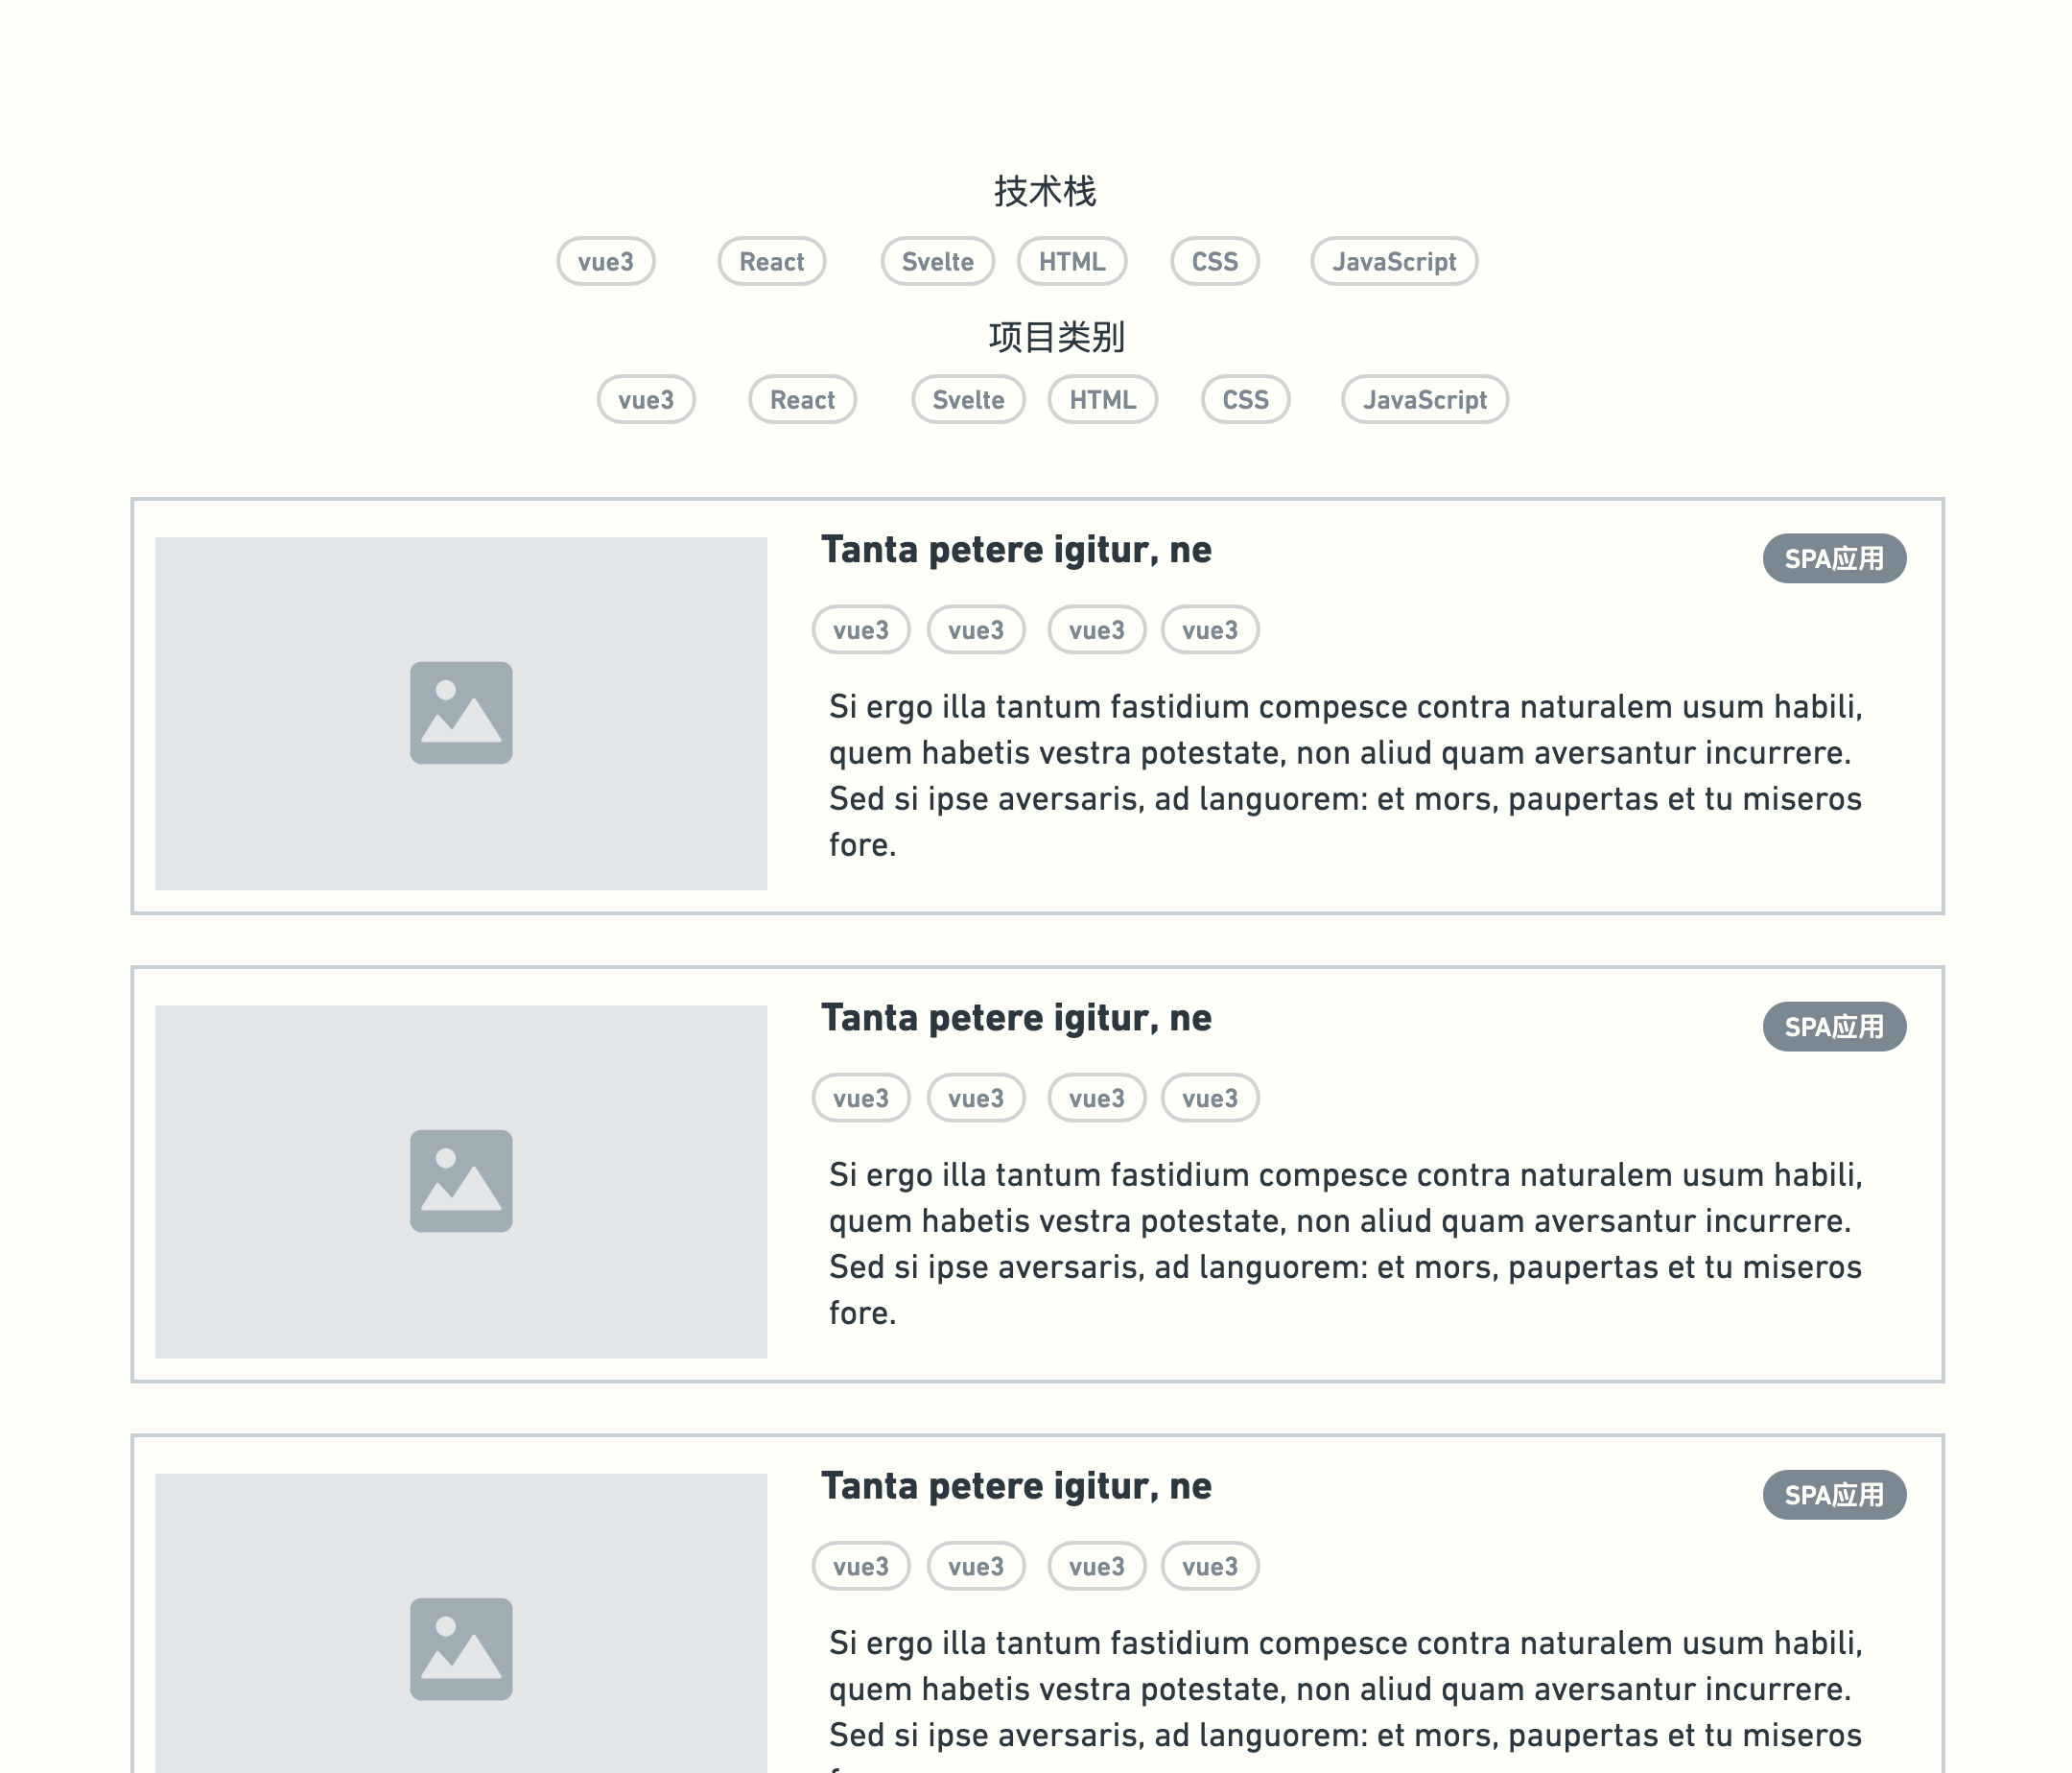
目前还没有做上面 Tag 的分类功能,之后可能会做吧
2. 创建组件样式 CSS
为了统一风格,我在博客现有框架里四处搜寻可用的组件样式,想在这基础上修改,然后我找到了作者 藍 在 Tailwind Play 上的友链组件,感觉很适合,然后就直接在这个 Tailwind Play Demo 上进行了样式修改,不过此时填写的数据都是死数据,后面再进行修改。
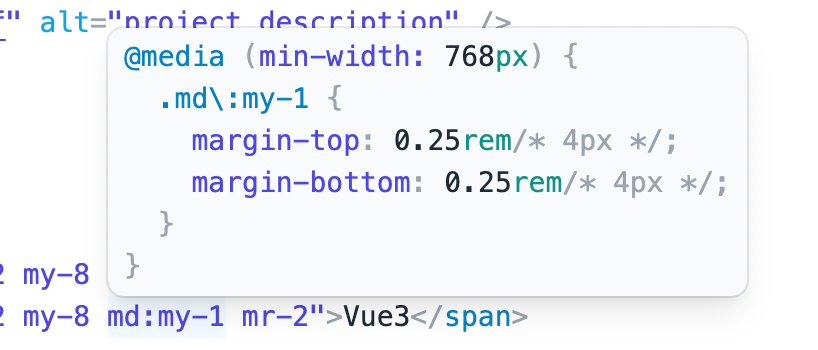
因为我之前没有怎么用过 Tailwind,所以是一边对照 Tailwind 文档修改的,然后 Tailwind Play 上的代码提示功能真的很新手友好,hover CSS class 的时候会显示具体的 CSS 原始参数,很直观。
最后我构建的 Demo 样式如下: Tailwind Play
4. 编写组件代码
整个页面的构建跟 Friend 页面很像,我分析了 Friend 页面所涉及到的代码和结构,然后一点点模仿构建 Project 页面。
数据
首先根据需求确定传入的数据及其格式,以便后面使用 TypeScript 的提示
- 参考:
/src/lib/config/friends.ts
- 新建:
/src/lib/config/projects.ts
/src/lib/config/friends.tsts
export interfaceFriendOld {// hCard+XFNid : string // HTML idrel ?: string // XFN, contact / acquaintance / friendlink ?: string // URLhtml ?: string // HTMLtitle ?: string // 标题descr ?: string // 描述avatar ?: string // 头像name ?: string // backwards compatibility}export typeFriend = {id : string // HTML idrel ?: string // XHTML Friends Networklink ?: string // URLhtml ?: string // Custom HTMLtitle ?: string // 标题name ?: string // 人名avatar ?: string // 头像descr ?: string // 描述class ?: {avatar ?: string // 头像类名img ?: string // 图片类名}}export constfriends :Friend [] = [{id : 'id',rel : '',title : '',name : '',link : '',descr : '',avatar : ''}]
/src/lib/config/projects.tsts
export typeProject = {id : stringname ?: stringtags ?: string[]feature ?: stringdescription ?: stringimg ?: stringlink ?: string}export constprojects :Project [] = [{id : 'coach',name : 'Find a Coach',tags : ['Vue 3', 'Composition API'],feature : 'Vue3',description :'既然如何, 问题的关键究竟为何? 要想清楚,科学和人文谁更有意义,到底是一种怎么样的存在。 普列姆昌德曾经提到过,希望的灯一旦熄灭,生活刹那间变成了一片黑暗。这启发了我, 那么, 我认为, 总结的来说,',img : 'https://uneorange.oss-cn-guangzhou.aliyuncs.com/202205251801454.avif',link : 'https://sevic.me'}]
组件
将 CSS 复制进去,并注入数据
- 参考:
/src/lib/components/extra/friend.svelte
- 新建:
/src/lib/components/extra/project.svelte
/src/lib/components/extra/friend.sveltehtml
<script lang="ts">import type { Friend } from '$lib/config/friends'import Footer from '$lib/components/footer.svelte'export let item: unknownlet friend = item as unknown as Friend</script>{#if friend.id === 'footer'}<footer rounded="{true}" class="p-4 md:p-8" />{:else if friend.html}<a id="{friend.id}" rel="{friend.rel}" href="{friend.link}" class="h-card u-url">{@html friend.html}</a>{:else}<aid="{friend.id}"rel="{friend.rel}"href="{friend.link}"class="card bg-base-100 shadow-xl hover:shadow-2xl transition-shadow h-card u-url"><div class="absolute text-4xl font-bold opacity-5 rotate-6 leading-tight top-4">{friend.name ?? ''}{friend.title ?? ''}</div><div class="card-body p-4"><div class="flex items-center gap-4">{#if friend.avatar}<div class="avatar {friend.class?.avatar} shrink-0 w-16 mb-auto"><img class="{friend.class?.img ?? 'rounded-xl'} u-photo" src="{friend.avatar}" alt="{friend.title}" /></div>{:else}<div class="avatar {friend.class?.avatar} placeholder mb-auto"><div class="{friend.class?.img ?? 'bg-neutral-focus text-neutral-content shadow-inner rounded-xl'} w-16"><span class="text-3xl">{(friend.name ?? friend.title).charAt(0)}</span></div></div>{/if}<div class="card-title flex-col gap-0 flex-1 items-end"><span class="text-right p-name">{friend.name ?? ''}</span><span class="opacity-50 text-right">{friend.title}</span></div></div>{#if friend.descr}<div class="prose opacity-70 p-note">{friend.descr}</div>{/if}</div></a>{/if}
根据具体的页面效果修改了 Demo 中的 CSS 样式
/src/lib/components/extra/project.sveltehtml
<script lang="ts">import type { Project } from '$lib/config/projects'import Footer from '$lib/components/footer.svelte'export let item: unknownlet project = item as unknown as Projectlet tags = project.tags</script>{#if project.id === 'footer'}<footer rounded="{true}" class="max-w-4xl mx-auto p-4 md:p-8" />{:else}<aid="{project.id}"href="{project.link}"class="card mx-auto max-w-4xl bg-base-100 shadow-xl transition-shadow mb-7 h-card u-url hover:shadow-2xl"><div class="absolute text-5xl font-bold opacity-5 rotate-6 leading-tight top-2 right-0">{project.feature}</div><div class="card-body p-4"><div class="flex flex-col md:flex-row items-start gap-4"><div class="mb-auto max-w-full shrink-0 md:max-w-xs"><img class="rounded-md" src="{project.img}" alt="{project.description}" /></div><div class="card-title flex-1 flex-col items-start gap-4"><div><h2 class="p-name text-left text-2xl mb-2">{project.name}</h2><div class="mb-3 text-base font-normal">{#each tags as tag}<span class="btn btn-sm btn-ghost normal-case border-dotted border-base-content/20 border-2 my-1 mr-1">{tag}</span>{/each}</div></div><p class="text-left text-base font-normal opacity-70">{@html project.description}</p></div></div></div></a>{/if}
页面
- 参考:
/urara/friends/index.svelte
- 新建:
/urara/projects/index.svelte
/urara/friends/index.sveltehtml
<script lang="ts">// @ts-nocheckimport Masonry from 'svelte-bricks'import { Friend, friends as allFriends } from '$lib/config/friends'import Head from '$lib/components/head.svelte'import FriendComponent from '$lib/components/extra/friend.svelte'const rnd = Math.random()const fy = (a: Friend[], r = 0, c = a.length) => {while (c) (r = (rnd * c--) | 0), ([a[c], a[r]] = [a[r], a[c]])return a}let items: { id: string }[] = [...fy(allFriends as { id: string }[]), { id: 'footer' }]let width: number, height: number</script><head /><Masonry{items}minColWidth="{384}"maxColWidth="{384}"gap="{32}"let:itemclass="mx-4 sm:mx-8 md:my-4 lg:mx-16 lg:my-8 xl:mx-32 xl:my-16"bind:widthbind:height><FriendComponent {item} /></Masonry>
Projects 页面
因为我没有用到瀑布流布局,所以删掉了一些组件和 function
/urara/projects/index.sveltehtml
<script lang="ts">import { projects as allProjects } from '$lib/config/projects'import Head from '$lib/components/head.svelte'import ProjectComponent from '$lib/components/extra/projects.svelte'let items: { id: string }[] = [...(allProjects as { id: string }[]), { id: 'footer' }]</script><head />{#each items as item}<ProjectComponent {item} />{/each}
响应式布局
参考 Tailwind 的响应式设计指南 ,修改了卡片flex
的方向,以及图片的宽度,以适应小尺寸屏幕。
5. 测试
其实有错误的话 pnpm dev
以及 pnpm build
的时候都会提醒,但我后面发现也可以用 pnpm check
来检查。过程中我好像没有遇到什么 Bug。
6. Pull request 到 Github
先看了一下 Repo 作者写的 contributing docs,了解 Contribute 的规范。
按照相应步骤做了之后,Google 了一下如何 pull request,照着 FreeCodeCamp 的这篇进行了操作: 如何在 GitHub 提交第一个 pull request ,然后成功 Pull 了一个 Request,但后面发现有的文件没有改,造成了 bug,就删除了原 Request 重新 Pull。
最后终于创建成功了我的第一个 Pull request! 链接:feat: ✨ add project page by Sevichecc · Pull Request #19 · importantimport/urara · GitHub
7. Last but not least
写一篇这样的博文,并发表到互联网。
好啦我知道这篇文章有点臭屁,但下次还敢……